 DialerGiants
Overview & prerequisites
Hardware recommendations
- CPU: 4+ cores for small deployments; 8+ cores for medium.
- RAM: Minimum 8GB; 16GB recommended for production.
- Storage: 100GB SSD + expandable for recordings.
- Network: Static public IP, low-latency voice network.
Software & accounts
- Ubuntu Server 22.04 LTS (fresh install).
- Root or sudo-enabled account.
- SIP trunk credentials.
Step 1 — Prepare Ubuntu 22.04
Update system and set timezone, firewall basics:
sudo apt update && sudo apt upgrade -y
sudo apt install -y build-essential git wget curl vim ufw
sudo timedatectl set-timezone UTC
sudo ufw allow 22/tcp
sudo ufw allow 80/tcp
sudo ufw allow 443/tcp
sudo ufw allow 5060/udp
sudo ufw allow 10000:20000/udp
sudo ufw enable
Step 2 — Install MariaDB & PHP
sudo apt install -y mariadb-server mariadb-client php php-mysql php-pear php-cli php-curl php-gd php-mbstring php-xml php-zip
sudo systemctl enable --now mariadb
sudo mysql_secure_installation
Step 3 — Install Asterisk
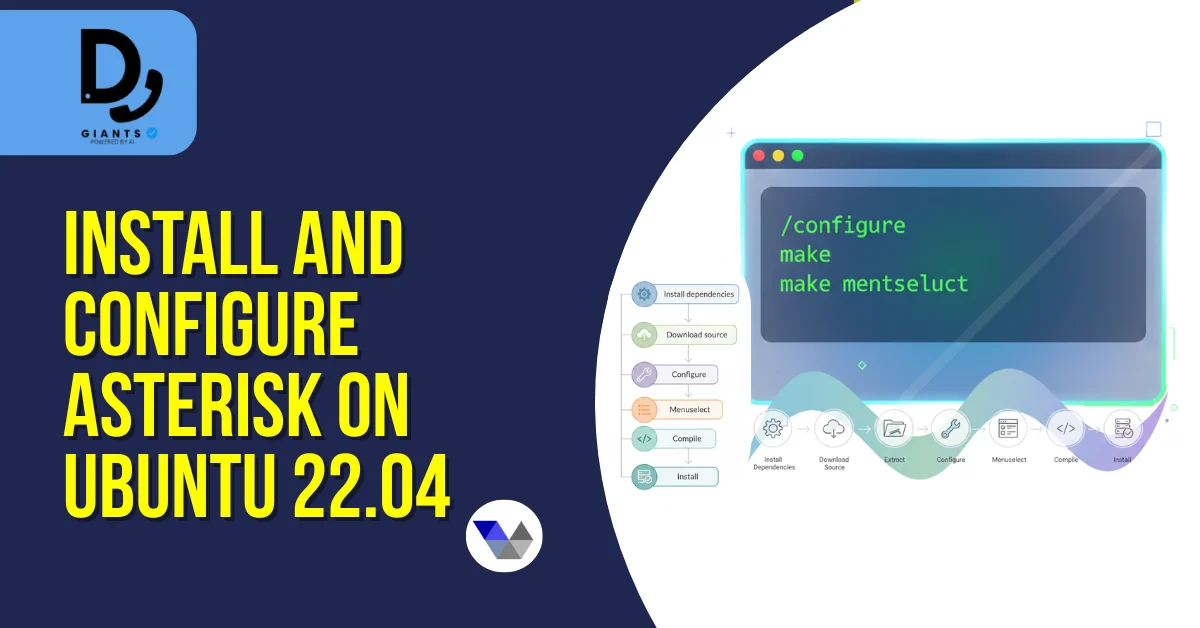
cd /usr/src
sudo wget http://downloads.asterisk.org/pub/telephony/asterisk/asterisk-19-current.tar.gz
sudo tar xvf asterisk-19-current.tar.gz
cd asterisk-19.*/
sudo contrib/scripts/install_prereq install
sudo ./configure
sudo make menuselect   # choose required codecs
sudo make -j$(nproc)
sudo make install && sudo make samples && sudo make config
sudo systemctl enable --now asterisk
Step 4 — Install dependencies for VICIdial
sudo apt install -y apache2 libapache2-mod-php sox lame libsox-fmt-mp3 ffmpeg
sudo systemctl enable --now apache2
Step 5 — Download and install VICIdial
cd /usr/src
sudo git clone https://github.com/VICIdial/vicidial.git /usr/src/vicidial
cd /usr/src/vicidial
sudo ./install.pl
Follow prompts for database credentials and admin user.
Step 6 — Configure Asterisk for VICIdial
Ensure AGI scripts are executable:
sudo chown asterisk:asterisk /var/lib/asterisk/agi-bin/*
sudo chmod 755 /var/lib/asterisk/agi-bin/*
sudo systemctl restart asterisk
Step 7 — Web server configuration
Create Apache virtual host and enable SSL with Certbot:
sudo a2ensite vicidial.conf
sudo systemctl reload apache2
sudo apt install -y certbot python3-certbot-apache
sudo certbot --apache -d vicidial.yourdomain.com
Step 8 — Initial admin setup & test calls
Log into VICIdial web GUI, create test campaign, add agents, and verify outbound calls via SIP trunk.
Common troubleshooting
- SIP registration fails: Check credentials and firewall rules; use
sip show peers. - One-way audio: Verify RTP ports and NAT settings.
- Database errors: Ensure MariaDB is running and credentials are correct.
- AGI script errors: Check permissions and shebang lines.
FAQs
Is Ubuntu 22.04 the best operating system for VICIdial?
Yes, Ubuntu 22.04 LTS is stable, secure, and widely used for VICIdial deployments with long-term updates.
How much hardware do I need to run VICIdial smoothly?
For 15–20 agents: 4 CPU cores, 8GB RAM, 100GB SSD. Scale accordingly for larger volumes.
Can I integrate VICIdial with CRM platforms?
Absolutely. VICIdial supports API, webhooks, and iframe pop-ups for CRMs like Zoho, HubSpot, Salesforce.
Do I need a public IP address to use VICIdial?
A public static IP is strongly recommended for remote agents and SIP trunk connectivity.
Is VICIdial suitable for both inbound and outbound call centers?
Yes, it supports blended campaigns, predictive dialing, inbound queues, IVR, and reporting.
Conclusion
Installing VICIdial on Ubuntu 22.04 becomes manageable with this structured step-by-step guide. After installation, focus on security hardening, backups, and monitoring. VICIdial is a powerful open-source call center solution that scales with your business—cost-effective and future-ready.