 DialerGiants
Introduction
Installing VICIdial on openSUSE is a practical choice for call-center engineers who need an open-source inbound/outbound dialer. This guide, "how to install vicidial on opensuse", walks through prerequisites, repository setup, DAHDI/libpri/Asterisk steps, database and web components, and post-install testing. It targets IT admins, VoIP engineers, and Linux server administrators.
Quick checklist (before you start)
- openSUSE Leap 15.1–15.6 or compatible (server edition)
- Root or sudo access
- At least 4GB RAM (8GB+ recommended for production)
- 2 CPU cores minimum; faster CPU for high concurrency
- 100GB disk for recording/storage (adjust by scale)
- Static IP, open ports (80, 443, 5038, 3306, RTP range)
Why openSUSE for VICIdial?
openSUSE is the base for official VICIbox images and has community packages (home:vicidial) for DAHDI and libpri. It's stable for long-running telephony services and aligns closely with VICIdial ecosystem resources.
How to install vicidial on opensuse — step-by-step
Step 1 — Prepare the server
sudo zypper refresh
sudo zypper update -y
Set hostname and /etc/hosts entries.
Step 2 — Add VICIdial repositories (home:vicidial)
sudo zypper addrepo https://download.opensuse.org/repositories/home:vicidial/openSUSE_Leap_15.3/home:vicidial.repo
sudo zypper refresh
zypper lr -u
Step 3 — Install DAHDI and libpri if needed
sudo zypper install dahdi-linux libpri
sudo systemctl enable dahdi
sudo systemctl start dahdi
Step 4 — Install Asterisk and dependencies
sudo zypper install asterisk asterisk-core
sudo systemctl enable asterisk
sudo systemctl start asterisk
Step 5 — MySQL/MariaDB setup
sudo zypper install mariadb mariadb-client
sudo systemctl enable mariadb
sudo systemctl start mariadb
sudo mysql_secure_installation
Step 6 — Web server and PHP
sudo zypper install apache2 php php-mysql php-gd php-mbstring
sudo systemctl enable apache2
sudo systemctl start apache2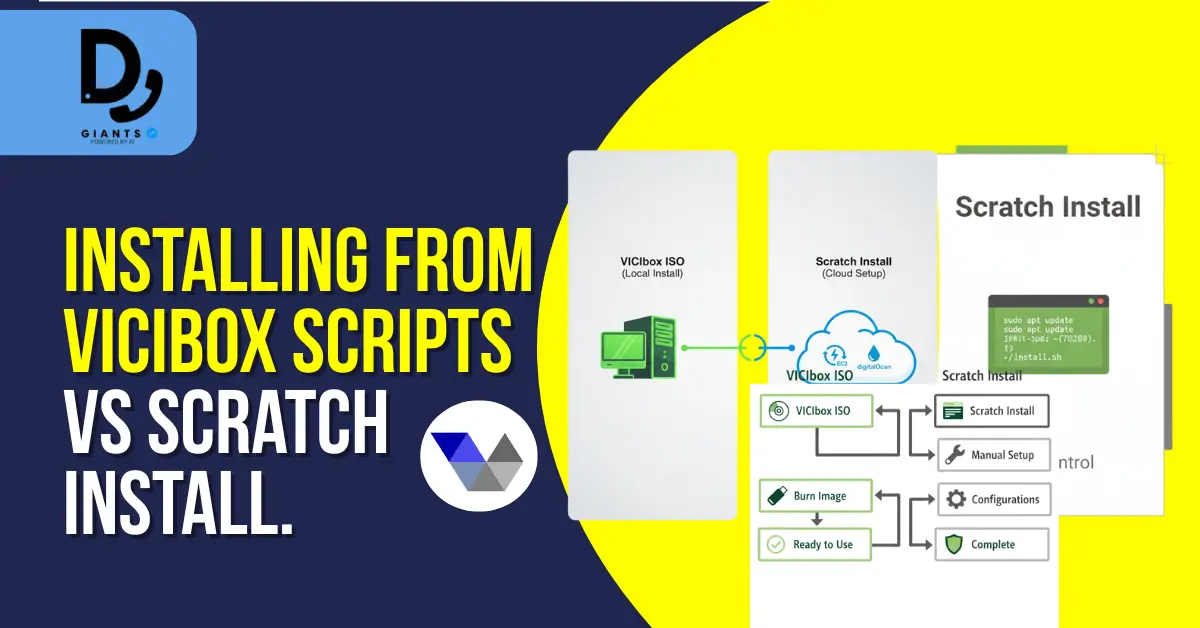
Step 7 — Download and install VICIdial (scratch install)
cd /usr/src
sudo git clone https://github.com/VICIdial/vicidial.git
cd vicidial
sudo ./install.pl
Step 8 — Configure Asterisk and VICIdial files
- Copy dialplan and SIP/IAX configs from VICIdial to /etc/asterisk/
- Configure manager.conf to allow AMI connections (port 5038)
- Set up vicidial.conf and server.conf per network requirements
Step 9 — Import database schema and admin user
mysql -u root -p
CREATE DATABASE `asterisk` CHARACTER SET utf8mb4;
SOURCE /usr/src/vicidial/vicidial.sql;
Step 10 — Start services and enable on boot
sudo systemctl restart asterisk apache2 mariadb
sudo systemctl enable asterisk apache2 mariadb
sudo systemctl status asterisk
Step 11 — Post-install testing
- Login to VICIdial web UI (http://your-server/astguiclient)
- Test outbound calls with SIP trunks
- Confirm agent login, call recording, and reports
Detailed prerequisites (expanded)
- Kernel headers: sudo zypper install kernel-devel kernel-default-devel
- Build tools: sudo zypper install make gcc gcc-c++ automake autoconf libtool
- Network utilities: sudo zypper install net-tools bind-tools
- Time sync: sudo zypper install chrony and enable chronyd
Installing from VICIbox scripts vs scratch install
- VICIbox ISO: Easiest path; openSUSE-based image preconfigured for VICIdial.
- Scratch install: More flexible and preferred for cloud servers, requires manual configuration.
Performance tuning for large deployments
- Separate DB server (MariaDB) from Asterisk/web servers
- Use Load Balancer or DNS round-robin for web GUI
- Use VICIdial clustering guides for high availability
- Tune MariaDB (innodb_buffer_pool_size ~ 50–70% RAM) and use SSDs for recordings
Troubleshooting checklist
- Dependency errors: ensure home:vicidial repo enabled
- DAHDI module errors: check kernel headers and rebuild modules
- Asterisk SIP issues: verify NAT, RTP ports, and firewall rules
- Database charset errors: ensure UTF8 and proper user grants
FAQ
1. Can I install VICIdial on openSUSE Leap 15.5 or 15.6?
Yes. openSUSE Leap 15.5 and 15.6 are both compatible with VICIdial installation. Use the correct home:vicidial repository version matching your Leap release.
2. What's the difference between VICIbox and a scratch install on openSUSE?
VICIbox is a prebuilt ISO based on openSUSE with VICIdial and Asterisk preconfigured — ideal for on-premise. Scratch install means installing everything manually, best for cloud servers or advanced setups.
3. Do I need DAHDI or libpri if I'm only using SIP trunks?
No, DAHDI and libpri are required only if you use physical PRI cards or analog interfaces. For SIP-only systems, you can safely skip those packages.
4. How can I secure my VICIdial on openSUSE server?
Enable firewalld, open only necessary ports, use SSL (Let's Encrypt) for web interface, restrict MySQL and AMI access to internal IPs, regularly update openSUSE, and use fail2ban or IP whitelisting.
5. What should I do if Asterisk or VICIdial fails to start?
Check logs: /var/log/asterisk/full, /var/log/apache2/error_log, /var/log/mysql/mariadb.log. Common fixes include verifying permissions, restarting services, or re-running the VICIdial installer script.
Conclusion
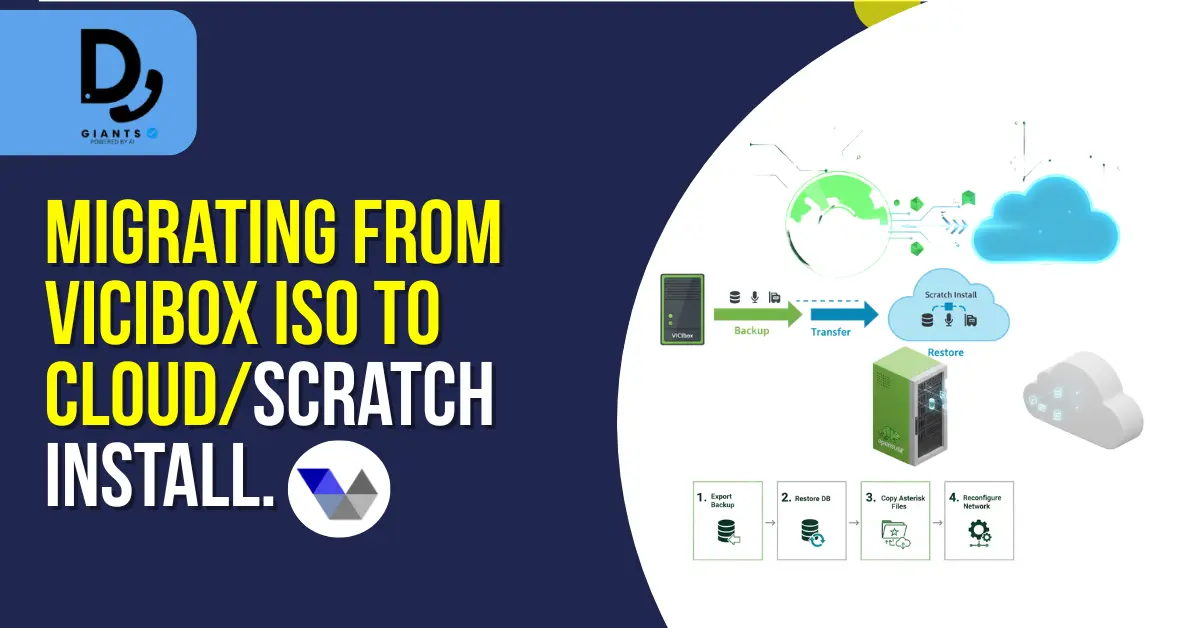
Installing VICIdial on openSUSE gives you a powerful, scalable, and stable dialer platform suited for call centers and VoIP operations. With the right configuration, openSUSE provides excellent performance and security for long-running services. By following the steps in this guide — from repository setup to Asterisk, database, and GUI configuration — you can deploy a production-ready VICIdial system optimized for your environment. If you need more convenience, start with the VICIbox ISO (which automates much of this setup). For advanced customization and cloud-based deployments, the scratch install method described here offers maximum flexibility.


